Better File Uploader プラグイン
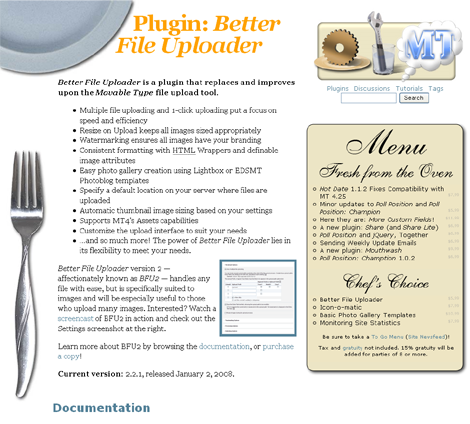
Movable Type 4.x のファイルアップロードで、複数ファイルをまとめてアップロードできる Better File Uploader プラグインを紹介します。
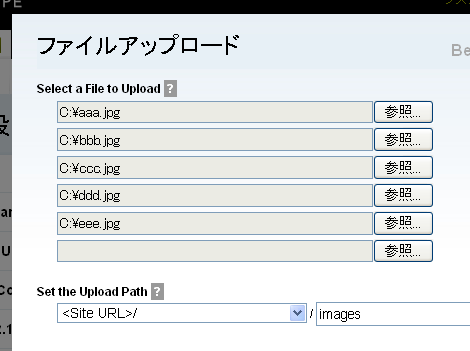
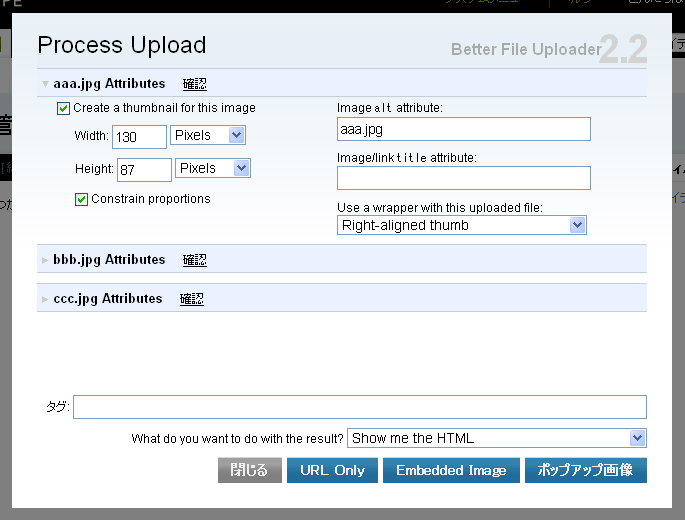
画面のように、複数ファイルをまとめてアップロードすることができます。画像サイズを変更してアップロードすることもできます。
また、アップロード時のサムネイル作成やHTML属性の付与など、オプションも充実しています。複数ファイルをアップロードしても、それぞれ独立してオプションを設定できるのが嬉しいです。
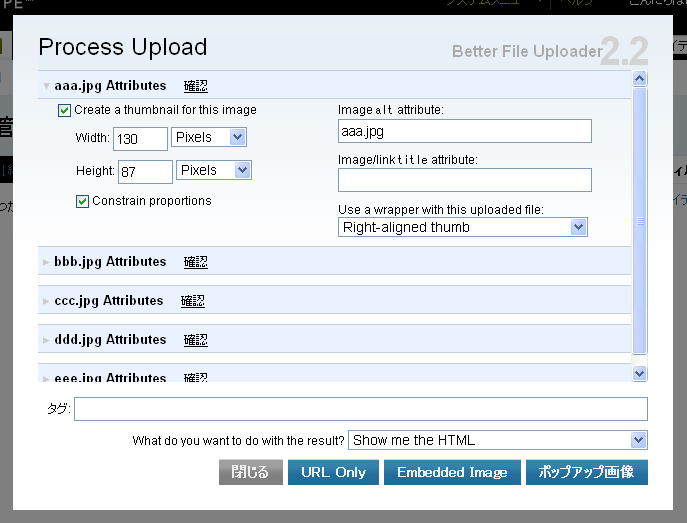
アップロード途中で画像を確認することもできます。

このプラグインは非商用利用でも有料ですが、機能が充実しており、利用価値の高いプラグインだと思います。以前のバージョンではアイテム一覧に対応していなかったようですが、現在公開されているバージョンでは対応しています。
なお、本プラグインについては、3年ほど前に「アップロード方法を指定するプラグイン」で紹介致しましたが、Movable Type 4 向けに機能が大幅に拡充されたので、改めてエントリーします。
1.プラグインのダウンロード
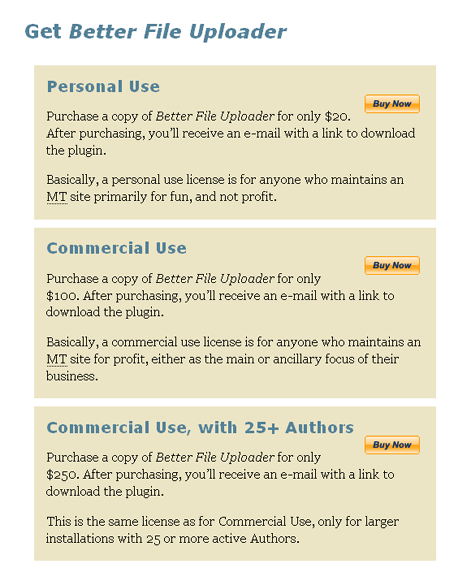
Better File Uploader のページにアクセスします。
ページ下にある「Buy Now」をクリック。ここでは「Personal Use」を例に進めます。
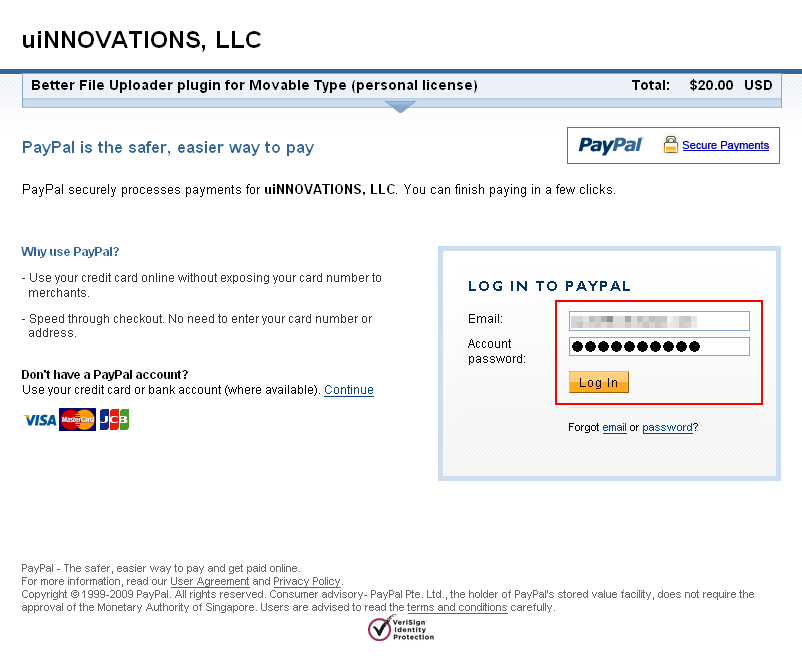
PayPal のページに進むのでアカウントがある場合はログインします。アカウントがない場合は左下の「Don't have a PayPal account? 」にある「continue」をクリックして作業を進めてください。ここではログインする例で進めます。
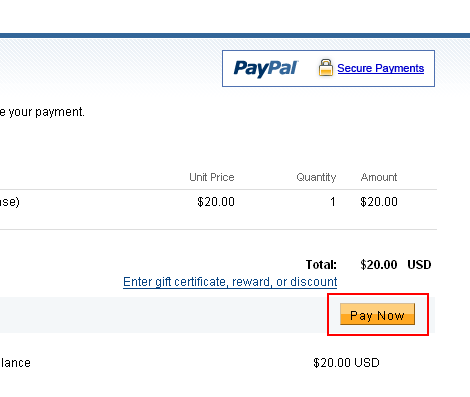
「Pay Now」のアイコンをクリックします。
これで購入手続きが完了しました。「Return to uiNNOVATIONS, LLC」のアイコンをクリックします。
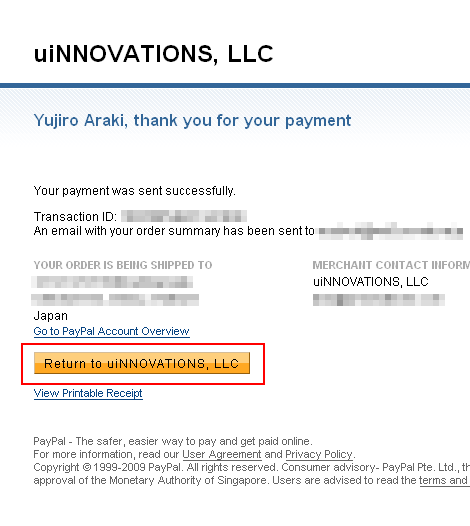
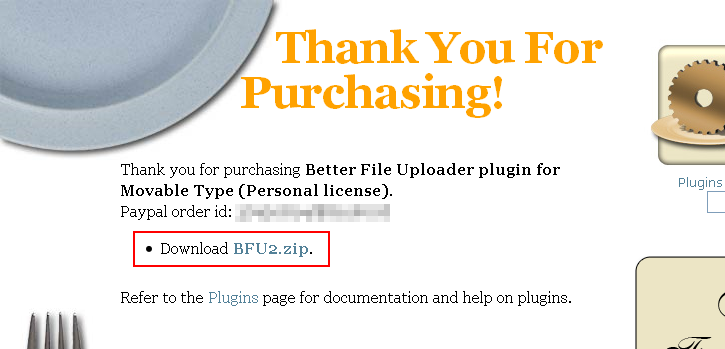
ダウンロードページが表示されるので、「Download BFU2.zip.」をクリックします。
2.プラグインのアップロード・インストール
プラグインアーカイブを展開し、中にある plugins フォルダ配下の BetterFileUploader フォルダごと、Movable Type のアプリケーションディレクトリの plugins ディレクトリにアップロード。また、中にある mt-static/plugins フォルダ配下の BetterFileUploader フォルダごと、Movable Type のアプリケーションディレクトリの mt-static/plugins ディレクトリにアップロード。
システム管理画面のプラグイン一覧で、「Better File Uploader ~」が表示されればインストール完了です。

3.プラグインの設定
この項目の設定は後で行ってもかまいません。なお、翻訳は適当です。
共通項目
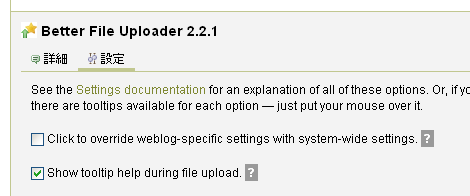
- Click to override weblog-specific settings with system-wide settings.
- チェックすれば、(プラグインの)システム設定で(プラグインの)ブログ別の設定を上書きします。
- Show tooltip help during file upload.
- チェックすれば、ヘルプをツールチップで表示します。
File Upload Options
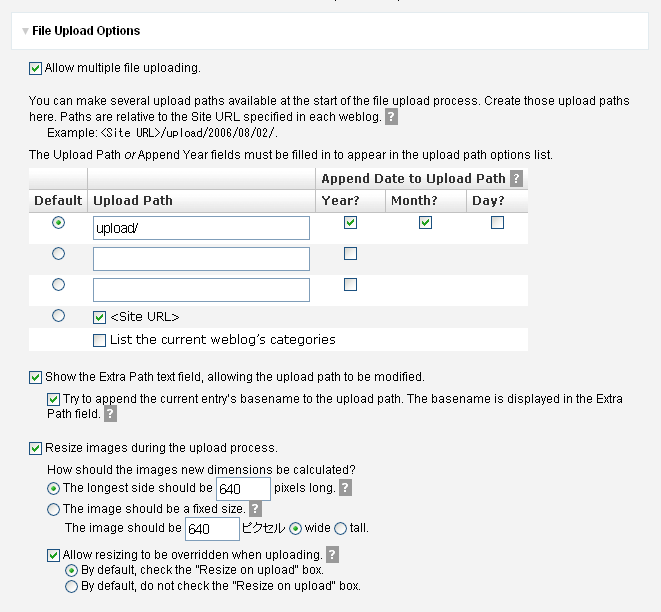
- Allow multiple file uploading.
- チェックすれば、複数ファイルのアップロードを有効にします。
- The Upload Path or Append Year fields must be filled in to appear in the upload path options list.
- アップロード時に、プルダウンメニューに表示するパスを指定します。
- Default
- プルダウンメニューにデフォルトで表示
- Upload Path
- アップロードしたいパスを記入(ブログディレクトリ配下になります)。「<Site URL>」はブログディレクトリ、「List the current weblog's categories」は登録されているカテゴリーを選択対象に加えます。
- Append Date to Upload Path
- チェックすれば、アップロードパスに日付情報がパスに追加されます
- Show the Extra Path text field, allowing the upload path to be modified.
- チェックすれば、アップロードパスに拡張パスフィールド(テキスト入力)を表示します
- Try to append the current entry's basename to the upload path. The basename is displayed in the Extra Path field.
- チェックすれば、ブログ記事からのファイルアップロード時に、ベースネーム(出力ファイル名)を拡張パスフィールドに表示します
- Resize images during the upload process.
- チェックすれば、アップロード操作中にリサイズを有効にします。
- How should the images new dimensions be calculated
- サイズの指定方法
- The longest side should be pixels long.
- 長い面のサイズを指定
- The image should be a fixed size.
- 幅または高さのサイズを固定
- Allow resizing to be overridden when uploading.
- チェックすれば、アップロード時のリサイズをチェックボックスで設定できるようにします
- By default, check the "Resize on upload" box.
- デフォルトで、「アップロードでのリサイズ」チェックボックスをチェックする
- By default, do not check the "Resize on upload" box.
- デフォルトで、「アップロードでのリサイズ」チェックボックスをチェックしない
Thumbnailing Options
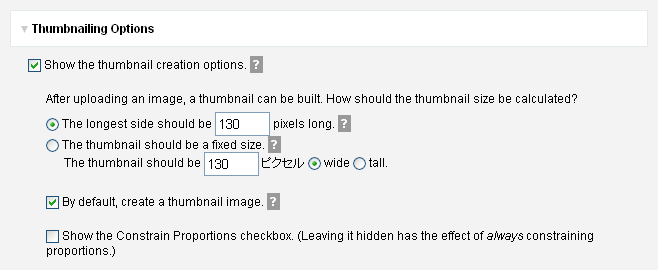
- Show the thumbnail creation options.
- チェックすれば、サムネイル作成のオプションを表示します
- After uploading an image, a thumbnail can be built. How should the thumbnail size be calculated
- サムネイルのサイズ指定方法
- The longest side should be pixels long.
- 長い面のサイズを指定
- The thumbnail should be a fixed size.
- 幅または高さのサイズを固定
- By default, create a thumbnail image.
- チェックすれば、デフォルトでサムネイルを生成します
- Show the Constrain Proportions checkbox. (Leaving it hidden has the effect of always constraining proportions.)
- チェックすれば、「Constrain Proportions(縦横比を固定する)」のチェックボックスを表示します
Processing Options
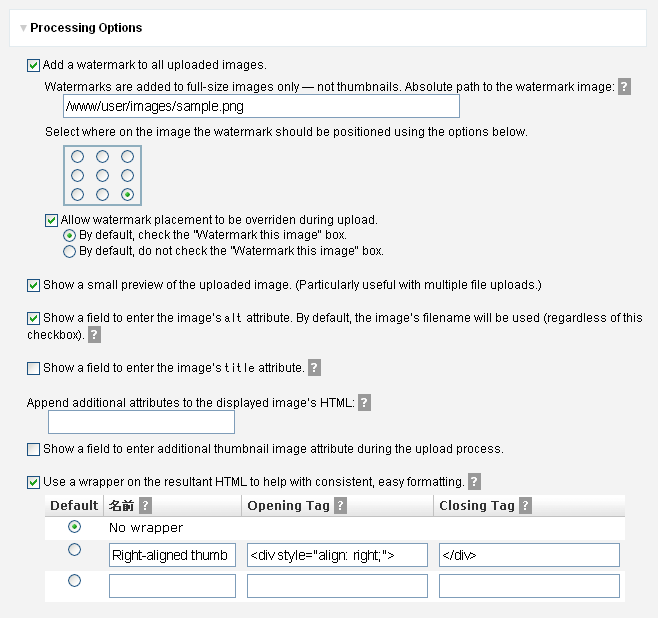
- Add a watermark to all uploaded images.
- チェックすれば、元画像にウォーターマーク(著作権保護などの目的から、デジタルコンテンツに追加する識別用情報)を設定します。サムネイルには設定しません。
- Watermarks are added to full-size images only ― not thumbnails. Absolute path to the watermark image:
- ウォーターマーク用画像の絶対パス(指定可能なファイル形式はpngまたはgif)
- Select where on the image the watermark should be positioned using the options below.
- ウォーターマークの画像内の追加位置
- Allow watermark placement to be overriden during upload.
- チェックすれば、アップロード時に設定できるようにします
- By default, check the "Watermark this image" box.
- デフォルトで、「ウォーターマーク」チェックボックスをチェックする
- By default, do not check the "Watermark this image" box.
- デフォルトで、「ウォーターマーク」チェックボックスをチェックしない
- Show a small preview of the uploaded image. (Particularly useful with multiple file uploads.)
- チェックすれば、アップロード画像の小さいプレビューを表示します((複数ファイルアップロードで役に立ちます)
- Show a field to enter the image's alt attribute. By default, the image's filename will be used (regardless of this checkbox).
- チェックすれば、画像のalt属性の入力フィールドを表示します。チェックの有無にかかわらず、デフォルトでは画像ファイル名を使用します。
- Show a field to enter the image's title attribute.
- チェックすれば、画像のtitle属性の入力フィールドを表示します。
- Append additional attributes to the displayed image's HTML:
- 画像のHTMLに追加属性(class属性など)を設定します。
- Show a field to enter additional thumbnail image attribute during the upload process.
- チェックすれば、サムネイルの追加属性の入力フィールドを表示します。
- Use a wrapper on the resultant HTML to help with consistent, easy formatting.
- チェックすれば、指定したHTML要素で出力結果をラップします
- Default
- プルダウンメニューにデフォルトで表示
- 名前
- オプション画面に表示する名称
- Opening Tag
- 開始タグ
- Closing Tag
- 終了タグ
Publishing Options
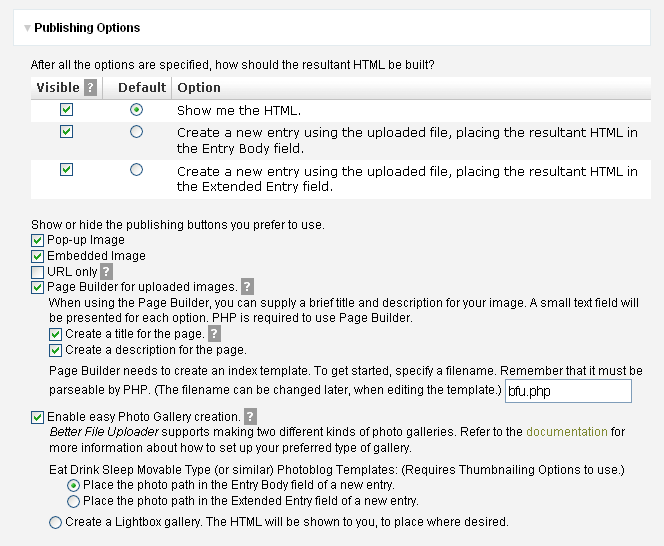
- After all the options are specified, how should the resultant HTML be built
- すべてのオプションを指定した後、HTMLをどのように生成するかを指定
- Visible
- 表示または非表示を選択
- Default
- デフォルトで表示
- Option
- オプション
- Show me the HTML.
- 結果のHTMLのみ表示
- Create a new entry using the uploaded file, placing the resultant HTML in the Entry Body field.
- アップロードしたファイルを用いて、結果のHTMLをブログ記事本文に挿入して、新しいブログ記事を作成
- Create a new entry using the uploaded file, placing the resultant HTML in the Extended Entry field.
- アップロードしたファイルを用いて、結果のHTMLをブログ記事追記に挿入して、新しいブログ記事を作成
- Show or hide the publishing buttons you prefer to use.
- 出力したい内容に応じたボタンの表示・非表示
- Pop-up Image
- ポップアップ用の(X)HTMLマークアップを表示
- Embedded Image
- 元画像リンクつきのサムネイル用の(X)HTMLマークアップを表示
- URL only
- URLのみ表示
- Page Builder for uploaded images.
- アップロード画像用ページビルダー
- When using the Page Builder, you can supply a brief title and description for your image. A small text field will be presented for each option. PHP is required to use Page Builder.
- ページビルダーを使用するとき、簡潔なタイトルと説明を画像に提供します。テキストフィールドをオプションで表示します。ページビルダーを使用するにはPHPが必要です。
- Create a title for the page.
- ページタイトルを生成
- Create a description for the page.
- ページの説明を生成
- Page Builder needs to create an index template. To get started, specify a filename. Remember that it must be parseable by PHP. (The filename can be changed later, when editing the template.)
- ページビルダーは、インデックステンプレートを作成する必要があり、そのファイル名を指定してください。インデックステンプレーはPHPが利用可能であることが必要です。
- Enable easy Photo Gallery creation.
- 簡単なフォトギャラリーの作成を有効にします
- Better File Uploader supports making two different kinds of photo galleries. Refer to the documentation for more information about how to set up your preferred type of gallery. Eat Drink Sleep Movable Type (or similar) Photoblog Templates: (Requires Thumbnailing Options to use.)
- Better File Uploader は2つの種類のフォトギャラリーをサポートします。 ギャラリーのセッティングについての詳細についてはドキュメントを参照してください。
- Place the photo path in the Entry Body field of a new entry.
- 新しいブログ記事本文に画像パスを配置します
- Place the photo path in the Extended Entry field of a new entry.
- 新しいブログ記事追記に画像パスを配置します
- Create a Lightbox gallery. The HTML will be shown to you, to place where desired.
- Lightboxギャラリーを作成します。 希望する場所に配置するためのHTMLが表示されます。
Post-Publishing Options
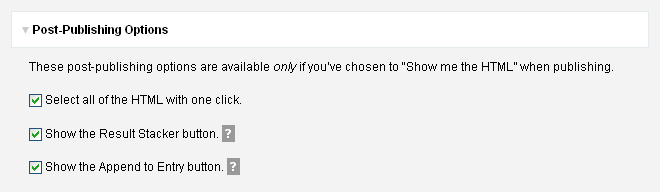
- These post-publishing options are available only if you've chosen to "Show me the HTML" when publishing.
- 出力するときに「Show me the HTML」を選んだ場合のみ、以下のオプションが利用可能です。
- Select all of the HTML with one click.
- ワンクリックでHTMLを選択できるようにします
- Show the Result Stacker button.
- 結果をスタックするボタンを表示します
- Show the Append to Entry button.
- ブログ記事に追加するボタンを表示します
SpeedDemon Options
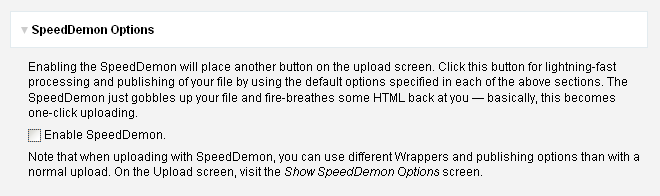
- Enable SpeedDemon.
- SpeedDemonを有効にします。
- Enabling the SpeedDemon will place another button on the upload screen. Click this button for lightning-fast processing and publishing of your file by using the default options specified in each of the above sections. The SpeedDemon just gobbles up your file and fire-breathes some HTML back at you -- basically, this becomes one-click uploading.
- SpeedDemonを有効にすると、専用のボタンがアップロード画面に配置されます。このボタンをクリックした場合、ファイルの高速処理と出力のために、上のセクションで指定した省略時のオプションを使用します。SpeedDemon は、ファイルを取り込んで何らかのHTMLをはきだすという、基本的に1クリックのアップロードになります。
- Note that when uploading with SpeedDemon, you can use different Wrappers and publishing options than with a normal upload. On the Upload screen, visit the Show SpeedDemon Options screen.
- SpeedDemonでのアップロードでは、通常のアップロードと異なったWrappersと出力オプションを使用できることに注意してください。Upload画面では、Show SpeedDemon Options画面を訪問してください。
4.利用方法
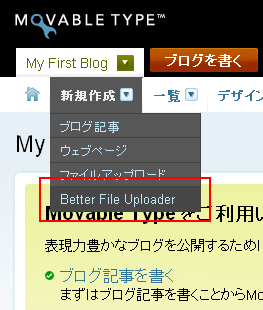
ブログ管理画面の「新規作成」→「Better File Uploader」をクリックします。
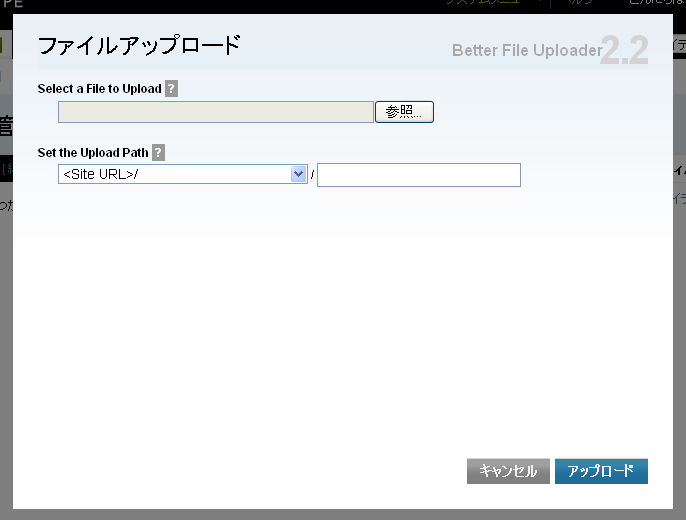
アップロードするファイルの選択方法は、Movable Type デフォルトのアップロードと同じです(下)。
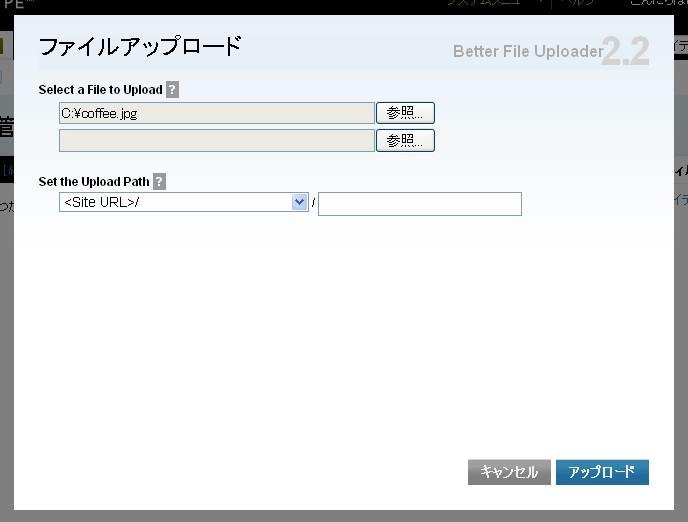
複数アップロードを有効にしていれば、ファイルアップロードの項目が自動的に追加表示されます(下)。
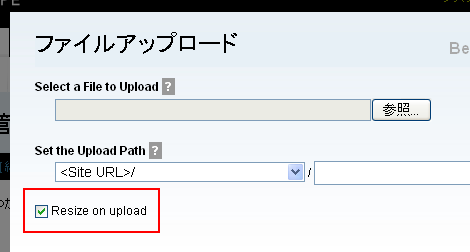
「File Upload Options」の「Resize images during the upload process.」を有効にし、さらに「Allow resizing to be overridden when uploading.」を有効にしていれば、アップロード時に「Resize on upload」のチェックボックスが表示されます(下)。
サムネイル作成や出力形式の選択を行なっていると、色々なフィールドやボタンが表示されます(下)。項目をひとつずつ説明すると枚挙に暇がないので、オプションを色々設定して、一番使いやすい設定にするとよいでしょう。
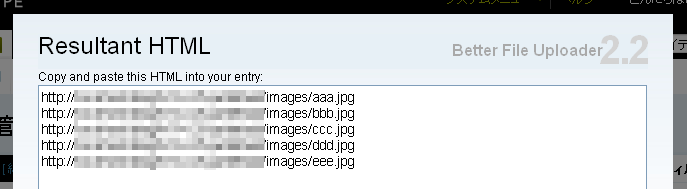
「What do you want to do with the result?」で「Show me the HTML」を選択し、「URL only」をクリックすると、次のような画面が表示されます。
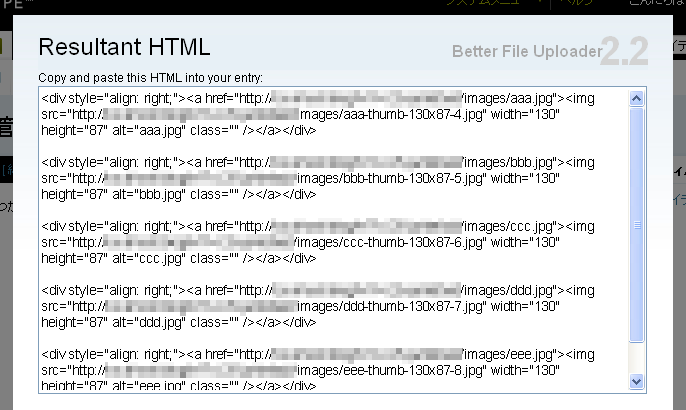
「What do you want to do with the result?」で「Show me the HTML」を選択し、「Embedded Image」をクリックすると、次のような画面が表示されます。
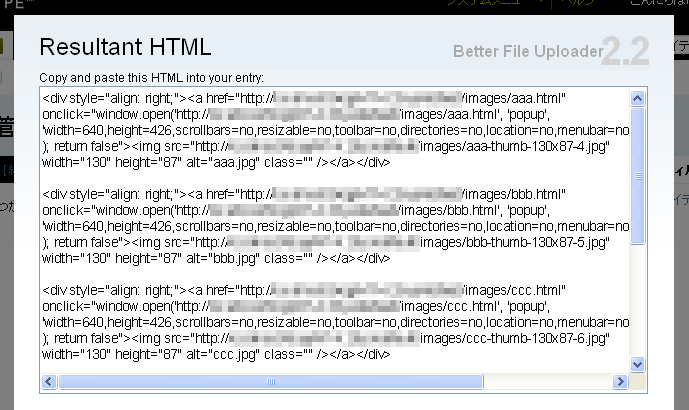
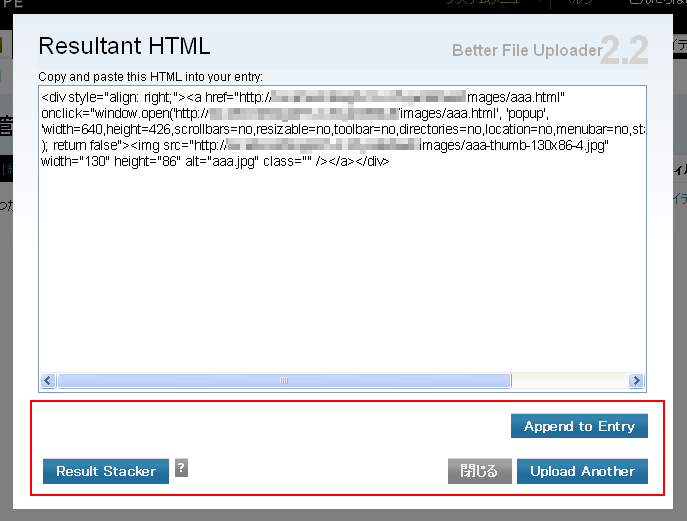
「What do you want to do with the result?」で「Show me the HTML」を選択し、「ポップアップ画像」をクリックすると、次のような画面が表示されます。
「Append to Entry」はブログ記事への追加、「Upload Another」は他の画像のアップロード画面に移動します。「Result Stacker」は今回のHTMLをスタックに設定します(下)。
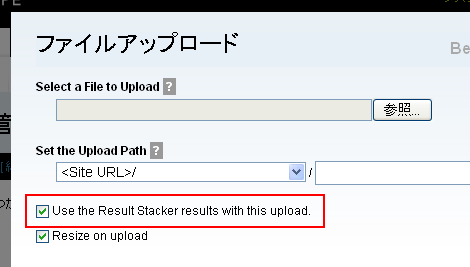
「Result Stacker」をクリックすると、アップロード画面に戻り、「Use the Result Stacker results with this upload.(アップロード時にスタックされた結果を使用する)」のチェックボックスが表示されます(下)。
ブログ記事作成・編集画面のファイルアップロードからも「Better File Uploader」の機能を利用することができます(下)。

- MovableTypeで削除したコンテンツデータや記事を復元できる「Trashプラグイン」
- Movable Typeのデータ更新を抑止する「DataUpdateSuppressorプラグイン」
- Movable Typeのウェブサイト管理者にブログ作成権限を与える「CreateBlogPermissionプラグイン」
- Movable Typeでダッシュボードのサイト情報期間を変更できる「SiteStatsTermChangerプラグイン」
- Movable Typeの管理画面のtitle要素を変更する「TitleChangerプラグイン」
- Movable Type管理画面のセッションタイムアウトを延長する「SessionTimeoutExtenderプラグイン」
- Movable Type管理画面で左右のメニューを非表示にする「MenuHiddenerプラグイン」
- Movable Typeのテンプレート編集画面でシンタックスハイライトを無効にする「InvalidateCodeMirrorプラグイン」バージョンアップ(v0.12)
- Movable Typeでログイン後の管理画面を変更する「ScreenChangerプラグイン」
- Movable Typeのテーマにウェブページを利用できる「PageImExporterプラグイン」バージョンアップ(カスタムフィールド対応)
- Movable Typeのテンプレート編集画面でシンタックスハイライトを無効にする「InvalidateCodeMirrorプラグイン」バージョンアップ(v0.11)
- Movable Typeの記事一覧画面にアイテムを表示する「EntryAssetListingプラグイン」バージョンアップ
- Movable Typeのテーマにブログ記事を利用できる「EntryImExporterプラグイン」バージョンアップ(カスタムフィールド対応)
- Movable Typeのテーマにブログ記事を利用できる「EntryImExporterプラグイン」バージョンアップ
- Movable Typeでアイテムアップロード時にリサイズ可能な「UploadImageResizerプラグイン」バージョンアップ